 |
| Outrunning The Rain's bling |
This is how I did it:
 |
| Supplies and relative cost |
Supplies needed:
- Wood for the medals and bibs to be on display. I got a 11x12 inch MDF scrap of wood for $0.51 at Home Depot (in the scrap lumber section) as well as a long plank of wood (2X4?) for the medals and cut it down to about 18 inches long.
- Knobs for the medals to be hung from on the plank of wood. If you have the patience, you can find some fantastic vintage and rustic distressed knobs that aren't matchy-matchy at places like the Habitat for Humanity Restore. Otherwise, you can get basic wooden ones at the hardware store for about a dollar each. If you're really lucky, the previous homeowner left all sorts of goodies like this in your garage when you moved in.
- Picture hanger hooks to nail on the back of each display so you can easily hang it on the wall. This was $2.97 at my Home Depot.
- Cup Hooks or the like to hang race bibs on. Another option would be to line the bottom of the race bib display with the cup hooks to hang medals from there too. Cost $3.48.
- Acrylic paint to paint the endges of the wood. Unless you are talented at folding the scrapbook paper over the edges and make it look clean and nice. Paint might want to be a complentary color to the scrapbook paper colors.
- Scrap book paper. This will be mod-podged on the wood surface. You could also just paint it or leave it with wood grain. This would be especially nice with a rustic piece of distressed drift wood or old wood from a weathered barn. You could also use an old map instead of scrap book paper. The options are endless. Request samples of wall paper from a designer store and collage that on there? Whatever you heart is content with.
- A "paper friendly glue" to put on your background paper. Mod Podge is generally the go-to glue for this, but I actually had issues with my paper wrinkling. This is probably because my mod podge had been sitting in the craft closet for ages and settled a bit. I ended up using rubber cement and it's working great.
- Exacto knife
- Ruler
- Drill
For the medal display, the first thing I did was layout my knobs and evenly space them apart. After marking where I wanted them, I had my husband drill a hole for the screw to be placed in the plank of wood and into the knob. He drilled the base of the hole larger than needed so that the head of the screw would be recessed into the wood and the wood could sit flush against the wall.

I then painted the knobs and set them aside to dry and then coated them with a coat of mod podge so that they'd have a slight gloss and be a little protected from knicks and scratches on my craft paint coat.
While that's all drying, lay the plank of wood over the scrapbook paper and trace out a section of your plank of wood. If your paper has a specific design (like mine), you'll want to cut out that rectangle and glue it on the paper again so that the designs match up and that the paper is long enough to cover your plank of wood.

After it's dry, I cut off the edges of the paper hanging over the edges of the wood with an exacto knife. Then nail on the picture hanging hooks on each corner.

For the bib display, I had two sizes of bibs. The standard size for races like "Color Me Rad" or the huge ones like my "Run Like Hell" bib. I laid each size down and marked where the upper holes on the bib were.
The smaller bib will be places a little bit higher and the larger bib a little bit lower.
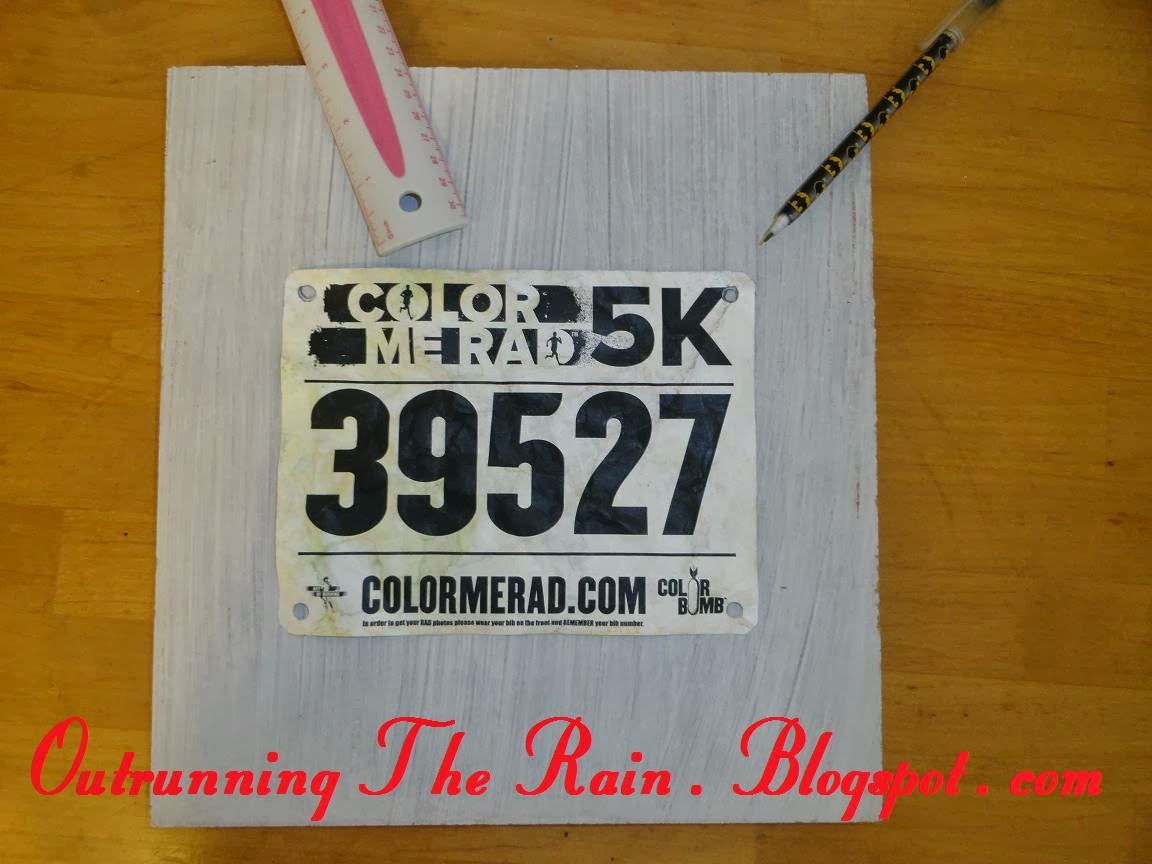

The larger bib is placed below the smaller ones and placed a little bit lower to make flipping through the bibs a bit easier. I suppose you could just punch new holes into any funky shaped bibs, but I can't bare the thought!
You can also run an iron on nylon setting over your really wrinkled bibs, but beware that resting the iron for the briefest of moments may result in a brown spot on your bib.
Before displaying your bibs, you'll also want to tear away the "Do Not Tear" foam bits for your timing chips.
Anyway, after marking the bib places on the board, whip out the drill and put some holes in your board. Your cup hooks might be the kind you can drill in by hand, but save your hand some work.... especially if you have MDF.

Place the hooks in and make sure your bibs hang the way you wanted.... or that you didn't mis-measure something.

Then I removed the hooks, measured where the holes were on my board and marked the "top" on the back of my board. Glue on the scrapbook paper, pile books on and wait to dry. This could be where you iron or rip timing chips off your bibs.
When the glue is dry, cut excess paper off with the exacto knife and stencil on a mantra if you desire.

I stenciled first on scratch paper so I could get an idea of which details on letters might shift and which letters needed to be adjusted for height.
I then traced my stencils (purchased for $0.10 at Scrap PDX) and painted my letters on.
Bugaboo used my extra paint to paint some letters of her own.

After it's done, you can coat with a layer of mod podge and replace hooks and display!

I placed bibs on some rings left over from my college flashcard days, but decided to just leave the bibs on the hook.

I might replace these small hooks with larger hooks or just split the growing pile of small bibs for each flash card ring and hang each ring on the hook. We'll see.
So, easy enough? I really hope I explained that well enough to understand.
How do you display your medals and/or bibs?
Cute. My husband and I made up displays for mine and my son's bibs. I have a larger piece of wood, bigger than double the bigger bib size. One side holds the bibs, like yours, the other is chalkboard paint with spots for my best times. The bottom is lined with hooks for medals. It's almost full with medals. ;)
ReplyDeleteMelanie
http://talesofstinkymom.wordpress.com
Oooh! That's a great idea! I like the chalk board paint option! I just wrote my times and stats on the back of each bib... but that's not all the times in one spot.
DeleteI love that you have included lots of space for all your future bling!!
ReplyDelete:D I have a feeling some things might have to share hooks later, or I'll have to put the "cup hooks" under the bib holder too... :) We'll see. Maybe that will be in a few years... ;-)
DeleteRobin, I need you to be my design consultant and come over to my office and tell me what would look best and where to put it. I have been wanting to build a shrine but am unsure how to go about it. I have some kind of odd, triangular walls in my office.
ReplyDeleteYou are cracking me up! You've seen the chaos my house can be in ;-) But I'm interested to see these triangular walls! :)
DeleteThis comment has been removed by the author.
DeleteHow are you liking your medal and bib display? What changes would you make, if any?
ReplyDeleteI think with some of the thicker ribbons (like the "Run Like Hell" half or some of Uberthon's race ribbons), I'd have chosen a knob that had more space on the "neck" between the knob and the display... :) I hope that makes sense. With a larger ribbon, the ribbon will get a crease on it as it hangs from the smaller knob.
DeleteThank for sharing! nice post for self made race bib. an awards for you
ReplyDeleteWhat is the measurement of distance between the two hooks for the big bib and the small bib?
ReplyDeleteThanks for reading! I don't know if my large bibs are a "standard size" for races that do use larger bibs, but the distance for that is 7 3/4 inches apart.
DeleteThe smaller bibs that do seem to be more standard in size have a distance of 6 7/8 inches apart.
Hope that helps!